
How to Create an Online RSVP for Any Party (Step-by-Step)
Create an online RSVP for any party in minutes: set event details, collect guest counts and plus-ones, share a link, and track replies without spreadsheets.
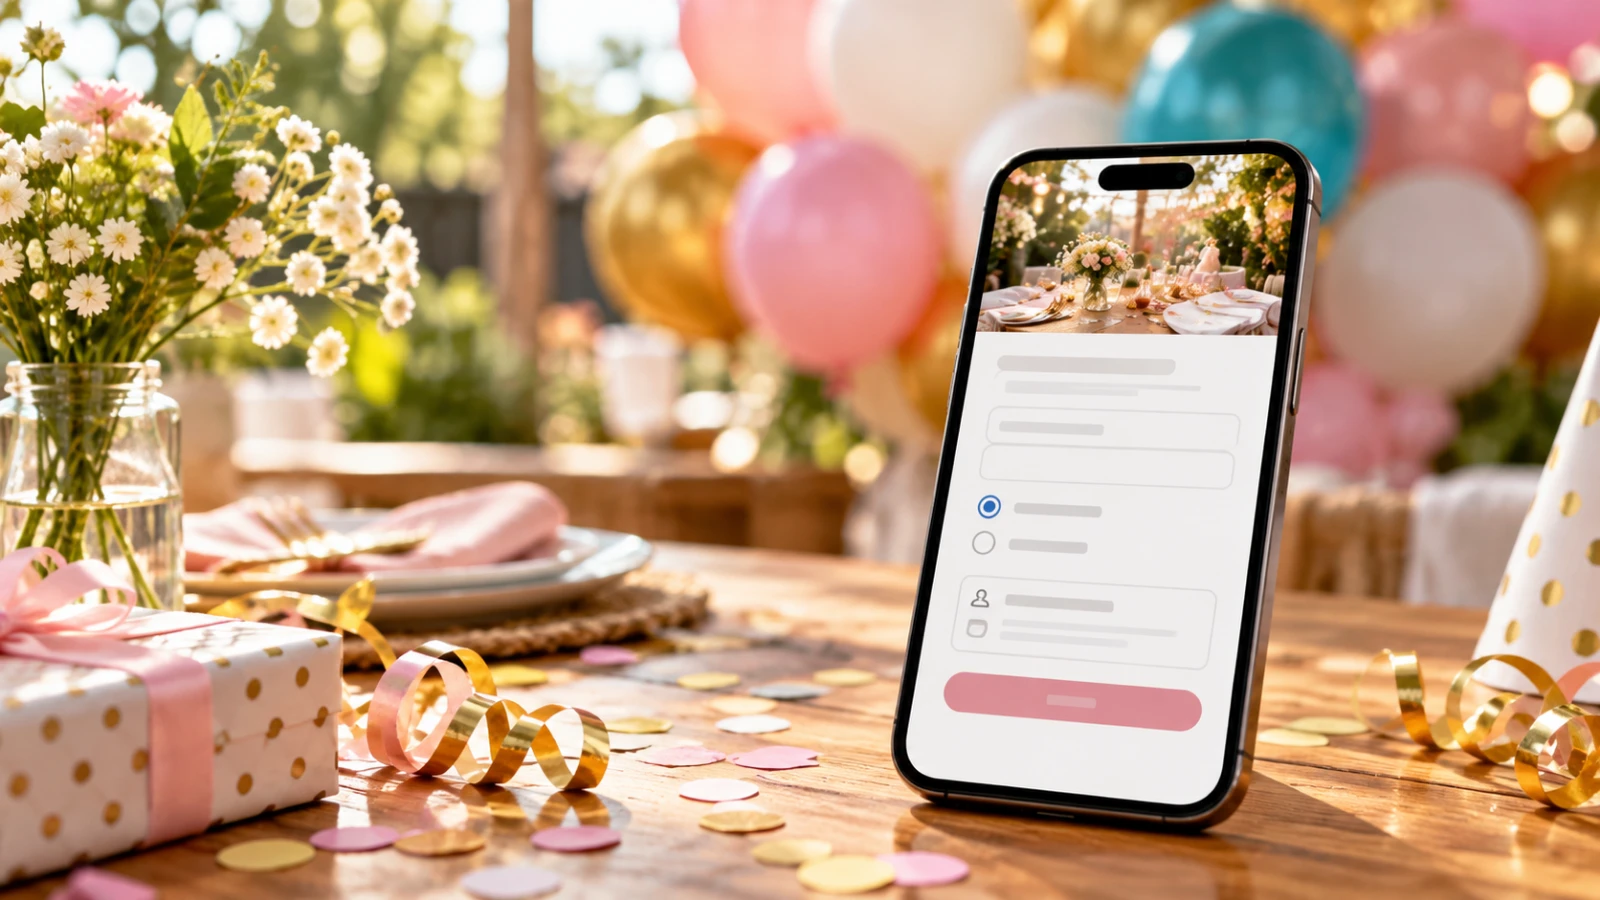
Want a clear yes/no from every guest without drowning in group chats? Learning how to create an online RSVP for any party is the fastest way to lock headcounts, plus-ones, and meal notes before you order food or book a venue. In under fifteen minutes you can publish a shareable RSVP page, send one link, and watch replies arrive in one place.
This guide walks through a practical workflow that works for birthdays, dinner parties, holiday gatherings, housewarmings, and other celebrations—not just weddings. When you are ready to build, open SnapRSVP’s create flow and follow the steps below.
What an online party RSVP should collect
A good RSVP page asks only for decisions that change your planning. Extra fields slow guests down and reduce reply rates.
Attendance: Yes / No (and Maybe only if you truly need it)
Guest name: so your list matches real people, not anonymous clicks
Plus-ones: number of additional guests allowed, if any
Deadline: a visible “reply by” date guests cannot miss
Optional extras: meal choice, dietary note, song request, or arrival time
Skip long surveys. If a question does not change catering, seating, or supplies, leave it off.
Step 1: Pick the party type and core details
Start with the basics guests need before they can answer:
Event title (keep it specific: “Maya’s 30th at Harbor Loft,” not “Party”)
Date, start time, and end time or soft close
Venue name and full address
Host contact for day-of questions
Dress code or parking note if it prevents confusion
For birthday celebrations, a dedicated birthday party RSVP website template keeps the tone festive while still collecting a clean headcount. Cocktail nights and holiday parties work the same way—swap the theme, keep the RSVP structure simple.
Step 2: Build the RSVP form (not a spreadsheet)
Create one page that combines invite details and the response form. Guests should see what they are committing to and answer in the same visit.
Add your event story in a short paragraph (who, why, vibe).
Turn on attendance and guest-count fields.
Enable plus-ones only when the venue and budget allow them.
Add one optional custom question if needed (meal, allergies, kids coming).
Set an RSVP deadline two weeks before food or rental cutoffs when possible.
Compared with a shared spreadsheet or a generic form, a purpose-built RSVP page is easier for guests and cleaner for hosts. If you are weighing tools, see how an RSVP website compares with Google Forms for event replies.
Step 3: Preview on phone before you share
Most guests open invites on mobile. Preview your page on a phone-sized screen and check:
Date, time, and address are visible without hunting
The RSVP button is obvious above the fold
Custom questions are short and clear
There is no duplicate “reply here and also text me” instruction
Fix typos now. Once the link is in group chats, edits still work—but first impressions stick.
Step 4: Share one link everywhere
Copy your RSVP URL and use the same link in every channel:
Text or WhatsApp to close friends
Email to family lists
Instagram DM or Stories sticker for casual crowds
QR code on a printed card for mixed digital/paper invites
For printed pieces, generate a clean code with SnapRSVP’s QR code generator, or follow the tips in our guide to QR codes on event invitations. One link prevents version confusion (“which group chat had the address?”).
Step 5: Track replies and nudge non-responders
Check your dashboard a few times a week. Sort by Yes / No / Pending. About a week before the deadline, send a polite reminder only to people who have not answered. Keep the message short: event name, date, link, and the reply-by date.
After the deadline, lock the list for catering. Late replies can go on a waitlist if space allows—decide that policy once and stick to it.
Party-type shortcuts
The same five steps apply everywhere; only the extras change:
Dinner parties: meal choice and dietary notes matter most—see how to plan a dinner party.
Holiday parties: collect plus-ones early; offices and families expand fast.
Kids’ birthdays: ask for child + parent names and allergy notes.
Housewarmings: keep it casual; attendance + optional gift preference is enough.
Corporate mixers: company name and dietary needs help venue planning.
Common mistakes that tank reply rates
Asking ten optional questions before the Yes/No
Hiding the deadline at the bottom of a long page
Sharing three different links across email, text, and social
No reminder schedule—hoping people remember
Changing the venue in a chat thread instead of updating the RSVP page
Quick checklist before you hit publish
Title, date, time, and address are correct
RSVP deadline is set and visible
Plus-one rules match your budget
Mobile preview looks clean
You have one canonical share link
Reminder date is on your calendar
Once those boxes are checked, publish and share. Creating an online RSVP for any party should feel like setting up a simple event page—not launching a website project. Build yours in SnapRSVP, send the link, and spend your energy on the celebration instead of chasing replies.